Scratching your head over how to scan documents on iPhone effortlessly? As you know everybody is going paperless nowadays. In view of today’s hacking and fraud cases, it has become very important that all your small and big documents are kept properly. You can now easily access the important documents on your mobile into simple PDFs and files.
Scan documents on iPhone trouble-free with the help of your iPhone notes application, file manager, and with the help of third-party apps, you can easily share with anybody. But, don’t be afraid of spam calls, as you can stop them easily. So for the detailed informational guide on how to scan documents on iPhone, please get rolling with us, as we will make you fully understand how to scan documents on iPhone quickly.
How To Scan Documents On iPhone?

Are you also wondering what happens if you urgently want to scan an important file for your office or send over the contract? iPhone also allows you to scan your document easily with no help from a big bulky machine by effortlessly turning your documents into PDFs and enables you to send them wherever you want them to go.
Don’t worry as the iPhone comes with an inbuilt method for its users to scan documents. And after scanning, it gives your documents and files an actual picture of a scan. So, let’s get straight as here is the guide on how to scan documents on iPhone.
How To Scan Documents On iPhone Using iPhone Notes?

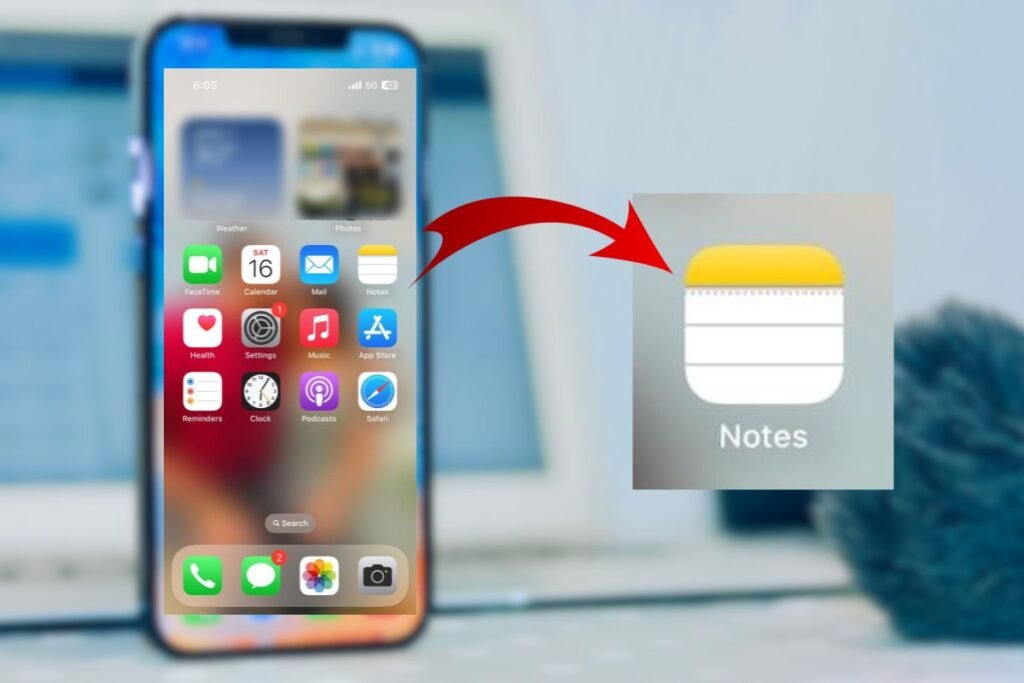
iPhone comes up with a default notes app, which is not only used for writing important notes but also to scan your documents efficiently. So here are the steps on how to scan documents on iPhone using an iPhone notes app:
Step 1: Open the notes app on your iPhone and tap on creating new notes.
Step 2: Tap on the camera icon below on the screen.
Step 3: Click on the scanned documents.
Step 4: Then please the document you want to scan under your iPhone camera. You will see an orange highlighted box over the document.
Step 5: The document will be scanned automatically once you tap the shutter button.
Step 6: Take the preview of your scanned document and tap Done after you make the necessary adjustments.
Also, See: Discover 12 Innovative AI Tools For Teachers
How To Scan Documents On iPhone Using Files App?

The second way of scanning documents on an iPhone is by using the files app. Here is the guide to understand the steps on how to scan documents on iPhone using the files app:
Step 1: Open the files application on your iPhone.
Step 2: Click on the browse tab on the right corner.
Step 3: Now tap on the three dots appearing in the top right corner.
Step 4: You will see the option to scan documents.
Step 5: Select the document you want to scan and confirm the scanning by clicking on the shutter button.
Step 6: You can also preview and edit the document accordingly. Once you are done making the changes. Tap on the Done button.
How To Scan Documents On iPhone Using Third-Party Apps?

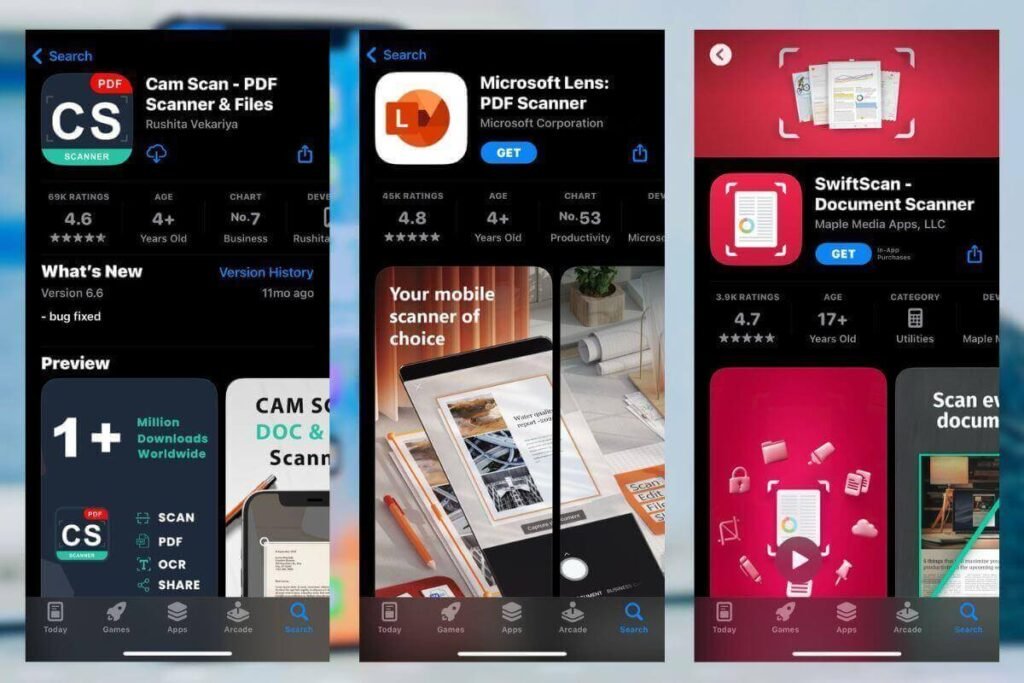
The iPhone also permits its users to use third-party applications to scan documents. You can find turn-off document scanning applications on the App Store like CamScanner, Swift Scan, Adobe Scanner and Microsoft Office Lens. If you’re also curious to know how to use these third-party applications to scan documents on iPhone you can have an eye on the guide given below:
We are giving you a guide on how you can use one of the most popular document scanning applications- Adobe scanner
Step 1: Open the Apple Store on your iPhone, search for Adobe Scan and download it on your device.
Step 2: Once the application is installed open the app and tap on the camera button to capture the file.
Step 3: You can also select the document you want to scan from your device memory by tapping on the Photos icon.
Step 4: Adjust the document according to your requirements and once you are done tap the Shutter button. You can also permit the Adobe scan to capture with well-adjusted borders automatically.
Step 5: You can also make necessary adjustments to your documents.
Step 6: For saving the scanned document tap on the Save PDF button at the right corner and rename it as you wish.
Also, See: Boost Your Impact: Best AI Tools For Presentation
How To Add Signatures On Your Scanned Documents On iPhone?

Done with scanning documents on iPhone! you can also add digital signatures to your scanned documents effortlessly. Here are the simple steps to follow:
Step 1: Open the notes app on your iPhone.
Step 2: Tap on the Icon Scanned document to open the curtains
Step 3: You can see the markup button on the right corner of your screen
Step 4: Once you open the marker button you can see the + button at the right bottom corner.
Step 5: Click on the add signature option, create a signature on your blank screen and then tap Done for the confirmation.
Rounding Off!
We hope we have made you clear about how to scan documents on your iPhone. As for now, you know enough methods as you can scan documents on the Notes app of your iPhone, or by using the Files application and even with the help of third-party applications.
We are curious to know which method you are going to choose for scanning your important documents and files. We are all open to your reviews in the comment section. Please don’t forget to visit us again as we promise you to bring more exciting content in the future.
Until then stay tuned! Thank you!
Also, See: Smart Choices, Bright Future: Best AI Tools For E-Commerce
Frequently Asked Questions-
Q1. How to send scanned documents to someone from iPhone Notes?
Ans. You can send your scanned document by tapping the ‘…’ icon you see in the top right corner of your screen, and then select the option to send a copy and then choose the medium through which you want to send.
Q2. Does my iPhone camera have a scanner?
Ans. You can scan the documents using your iPhone camera by using the notes app, then tap the camera icon to capture your scanned copy and once you are done, click the save button to save the PDF.
Q3. How can I create a PDF on my iPhone?
Ans. To create a PDF on your iPhone, open your iPhone photos app, select the photo you want to print as a PDF, click on the share icon and choose the print option you see at the end of your list, and it will open your image as a PDF viewer.
